Ada Setup and Run Guide
Thank you for your interest in Ada : Ada: A Distributed, Power-Aware, Real-Time Scene Provider for XR.
This guide provides step-by-step instructions to set up and run the Ada system within the ILLIXR testbed, using the ScanNet dataset.
1) Installation
Before building Ada, make sure the following dependencies are installed:
- ILLIXR: latest main branch
- Jetson Orin (device):
- JetPack ≥ 5.1.3
- DeepStream ≥ 6.3
- CUDA ≥ 11.4
- Server:
- Clang ≥ 10.0.0
- CUDA ≥ 11.4
- DeepStream = 6.3
1.1 Build and Install Ada Components in ILLIXR
Step 1: Clone ILLIXR
git clone git@github.com:ILLIXR/ILLIXR.git
cd ILLIXR
Step 2 Configure the Build
Create a build directory and run cmake with Ada components enabled.
Replace /path/to/install with the installation directory of your choice.
mkdir build && cd build
cmake .. \
  -DCMAKE_INSTALL_PREFIX=/path/to/install \
  -DBUILD_SHARED_LIBS=ON \
  -DUSE_ADA.OFFLINE_SCANNET=ON \
  -DUSE_TCP_NETWORK_BACKEND=ON \
  -DUSE_ADA.DEVICE_TX=ON \
  -DUSE_ADA.DEVICE_RX=ON \
  -DUSE_ADA.SERVER_RX=ON \
  -DUSE_ADA.SERVER_TX=ON \
  -DUSE_ADA.INFINITAM=ON \
  -DUSE_ADA.MESH_COMPRESSION=ON \
  -DUSE_ADA.MESH_DECOMPRESSION_GREY=ON \
  -DUSE_ADA.SCENE_MANAGEMENT=ON \
  -DCMAKE_BUILD_TYPE=Release
Step 3: Build
cmake --build . -j8
Step 4: Install
cmake --install .
Step 5: Update Environment Variables
Add the install folder’s lib directory to your LD_LIBRARY_PATH:
export LD_LIBRARY_PATH=/path/to/install/lib:$LD_LIBRARY_PATH
2) Setting up Ada
To run Ada, you’ll need a device with Jetson-class hardware and a server with an NVIDIA GPU. Below are the configurations we used for reproducibility in the Ada paper.
Hardware - Device (required): NVIDIA Jetson Orin AGX (Ada relies on Jetson’s NVENC/NVDEC capabilities for depth encoding.) - Server (flexible): Any machine with an NVIDIA GPU (we used an RTX 3080 Ti for our experiments, but other GPUs also work).
3) ILLIXR Configuration
Ada runs as a set of ILLIXR plugins. To launch it, you need to provide configuration files that specify which plugins to load, where to find the dataset, and Ada specific tuning parameters.
Example Device Configuration File
plugins: ada.offline_scannet,tcp_network_backend,ada.device_tx,ada.device_rx,ada.mesh_decompression_grey,ada.scene_management
env_vars:
  ILLIXR_RUN_DURATION: 1200
  ILLIXR_DATA: /home/illixr/Downloads/scannet_0005
  FRAME_COUNT: 1158
  FPS: 15
  PARTIAL_MESH_COUNT: 8
  MESH_COMPRESS_PARALLELISM: 8
  ILLIXR_TCP_SERVER_IP:  127.0.0.1
  ILLIXR_TCP_SERVER_PORT: 9000
  ILLIXR_TCP_CLIENT_IP: 127.0.0.1
  ILLIXR_TCP_CLIENT_PORT: 9001
  ILLIXR_IS_CLIENT: 1
  ENABLE_OFFLOAD: false
  ENABLE_ALIGNMENT: false
  ENABLE_VERBOSE_ERRORS: false
  ENABLE_PRE_SLEEP: false
Example Server Configuration File
plugins: tcp_network_backend,ada.server_rx,ada.server_tx,ada.infinitam,ada.mesh_compression
env_vars:
  ILLIXR_RUN_DURATION: 1200
  ILLIXR_DATA: /home/illixr/Downloads/scannet_0005
  FRAME_COUNT: 1158
  FPS: 15
  PARTIAL_MESH_COUNT: 8
  MESH_COMPRESS_PARALLELISM: 8
  ILLIXR_TCP_SERVER_IP:  127.0.0.1
  ILLIXR_TCP_SERVER_PORT: 9000
  ILLIXR_TCP_CLIENT_IP: 127.0.0.1
  ILLIXR_TCP_CLIENT_PORT: 9001
  ILLIXR_IS_CLIENT: 0
  ENABLE_OFFLOAD: false
  ENABLE_ALIGNMENT: false
  ENABLE_VERBOSE_ERRORS: false
  ENABLE_PRE_SLEEP: false
What differs between device and server?
The plugin set (device loads offline_scannet, rx/tx, decompression, scene management; server loads rx/tx, InfiniTAM, compression).
The role flag: ILLIXR_IS_CLIENT = 1 (device) vs 0 (server).
How to Understand Ada-Specific Parameters in YAML
FPS - Controls the proactive scene extraction rate. - In our paper’s evaluation, proactive extraction was triggered every N frames (we used every 15 frames).
!!!️ note
this name may be confusing since it overlaps with dataset playback rate; we plan to update it in a future release.
MESH_COMPRESS_PARALLELISM and PARTIAL_MESH_COUNT
- MESH_COMPRESS_PARALLELISM: number of worker threads launched to compress/decompress mesh chunks in parallel.
- PARTIAL_MESH_COUNT: number of chunks the mesh is divided into; the scene management plugin expects this value.
- In the current version, these must match.
- Future support will allow mismatch — e.g., splitting into 8 chunks but only using 4 compression threads.
4) Running Ada
To run Ada, open two terminals (one for the server, one for the device).
Make sure both shells have LD_LIBRARY_PATH set to include your ILLIXR build directory:
Step 1: Start the Server:
./main.opt.exe -y your_server_config.yaml
Step 2: Start the Device:
./main.opt.exe -y your_device.config.yaml
Output:
- If you enable the
VERIFYflag inplugins/ada/scene_management/plugin.cpp, Ada will write out a reconstructed mesh at the last update asx.obj(x = FRAME_COUNT/FPS - 1) - A
recorded_datafolder will be created inside your build directory. This folder contains diagnostic and intermediate data collected during the run
FAQ:
Q1: Can I use Ada on a different device than Jetson Orin?
Ada relies on GStreamer with NVIDIA’s DeepStream (NVENC/NVDEC) for efficient depth encoding.
In particular, Ada requires the enable-lossless flag for the nvv4l2h265enc / nvv4l2h264enc GStreamer elements.
This flag may be missing in some driver + device combinations.
- In theory, any NVIDIA GPU with Ampere or newer architecture (30xx series or Jetson Orin and above) supports this capability.
- However, software support is inconsistent across platforms.
- For devices that do not support this, we plan to release an alternative version using a prior method (16-bit depth → HSV color model → 8-bit RGB), which offers the next-best depth preservation.
Q2: How to Change the Scene Fidelity
To adjust scene fidelity in Ada:
1. Go to
ILLIXR/build/_deps/infinitam_ext-src/ITMLib/Utils/ITMLibSettings.cpp
2. Find line 55:
sceneParams(0.1f, 100, 0.02f, 0.2f, 4.0f, false), // 2cm //pyh Ada used config
- The third parameter (0.02f in this example) controls the voxel size.
- Smaller values → higher fidelity (e.g., 0.02f = 2 cm).
- Larger values → lower fidelity (e.g., 0.04f = 4 cm, 0.06f = 6 cm).
3. Predefined configurations are available:
- Line 53 → 6 cm voxel size
- Line 54 → 4 cm voxel size
- Line 55 → 2 cm voxel size (default in Ada)
4. After editing, rebuild ILLIXR:
cmake --build . -j8
cmake --install .
Q3. How do I adjust the bitrate of LSB?
To modify the bitrate used by the LSB encoder, open
ILLIXR/utils/video_encoder.hpp and locate line 11 under the #if defined(ADA) block:
#define ILLIXR_BITRATE X
Replace X with your desired bitrate value (in bits per second).
Currently, it is set to 0.5 Mbps.
Here are some common examples for reference:
| Target Bitrate | Value (bits per second) |
|---|---|
| 50 Mbps | 52428800 |
| 20 Mbps | 20971520 |
| 10 Mbps | 10485760 |
| 5 Mbps | 5242880 |
| 2 Mbps | 2097152 |
| 0.5 Mbps | 524288 |
Q4. My extracted mesh looks weird — what went wrong?
The reconstruction algorithm used in Ada (InfinITAM) is generally robust.
If your extracted mesh appears corrupted, distorted, or missing, it usually indicates that depth or pose information was not passed correctly.
A missing mesh (nothing is getting updated) often causes a segmentation fault, since the compression stage expects non-empty submesh chunks.
If you encounter a segfault, you can verify whether the mesh is missing by printing out the face_number variable in the InfiniTAM plugin located at:
build/_deps/infinitam_ext-src/plugin.cpp
face_number is assigned around line 184 — simply add a printf to check its value.
If it prints 0, that means the mesh is missing.
The most common culprit—based on the author’s experience—is a version mismatch in NVENC support across different GStreamer and NVIDIA DeepStream releases.
Even if the pipeline is set up correctly, internal changes in GStreamer or DeepStream may alter the encoding behavior, leading to inconsistent depth reconstruction.
Quick diagnostic test
Use the provided helper function in server_rx:
write_16_bit_to_pgm()
Q5. Anything changed since the paper?
Yes. During the open-sourcing process, the author revisited and refined parts of the implementation.
One key change concerns how depth images are handled in the Most Significant Byte (MSB) and Least Significant Byte (LSB) encoding paths.
In the original design, both MSB and LSB components of the depth image were converted to YUV444 format before encoding.
However, upon further investigation, the author realized that this is unnecessary for the LSB path — it can safely use YUV420 instead.
Because the depth information is stored entirely in the Y channel, the UV downsampling in YUV420 has no impact on accuracy.
As a result, in the open-source version:
- LSB encoding has been simplified to use YUV420.
- MSB encoding remains in YUV444, since the enable-lossless flag only works with that format.
This change makes the LSB pipeline more efficient without affecting reconstruction quality.
In short: less code, better results, fewer regrets.
Q6. How do I prepare a dataset?
If you’d like to try Ada with your own data, the process is similar to the provided ScanNet sequences.
You can start by checking out the author’s example datasets here:
👉 Google Drive link
Below is a step-by-step guide to prepare a ScanNet sequence for Ada.
You can follow the same procedure for other datasets — as long as you end up with depth, color, and pose files in the same format, you’re good to go.
Step 1: Download ScanNet
Follow the official instructions here:
🔗 ScanNet download
Step 2: Clone ILLIXR’s ScanNet Fork
Ada uses a modified ScanNet reader compatible with InfiniTAM.
Run the following commands:
git clone git@github.com:ILLIXR/ScanNet.git
cd ScanNet
git checkout infinitam
cd SensReader/c++
make
Step 3: Create a Sequence Directory
Create your final dataset directory (outside the repo).
It should look like this:
scene/
├─ images/   # depth and color images
└─ poses/    # associated pose files
Step 4: Convert .sens Files
Use SensReader to extract calibration, pose, color, and depth images.
See the instructions here:
ScanNet SensReader C++
Example:
./sens /path/to/scannet/scans/scene0000_00/scene0000_00.sens /path/to/scenes/scene0000/images
Step 5: Convert to InfiniTAM Format
Finally, convert the extracted data into the InfiniTAM-compatible format:
cd ILLIXR/plugins/ada
python3.8 convert_scannet.py --source-dir /path/to/scenes/scene/images
Q7. How do I ensure the timing is relatively accurate?
Unfortunately, getting accurate scene update timing requires synchronized clocks across server and device.
In this project, the author used NTP (Network Time Protocol) to keep the clocks of two Linux devices in sync.
Before starting your experiment, pick one device as the reference and run the following on the other device:
sudo apt install ntpdate -y

# Stop Ubuntu's default time sync service
sudo systemctl stop systemd-timesyncd.service

# (Optional) Stop ntpd if it's running
sudo systemctl stop ntp.service

# Make sure on the server side edit your /etc/ntp.conf and add
allow ip_of_your_other_device

#enable your ntp service
sudo systemctl enable --now ntp

# Sync clock with the reference device
sudo ntpdate
Q8. Why name your system Ada? Any meaning behind it?
Because my first cat, Ada, has been faithfully supervising the development of this system — usually from the comfort of my "server" case. 🐈⬛
It only felt right to acknowledge her invaluable contributions (moral support, occasional bug introductions, and mandatory break reminders).
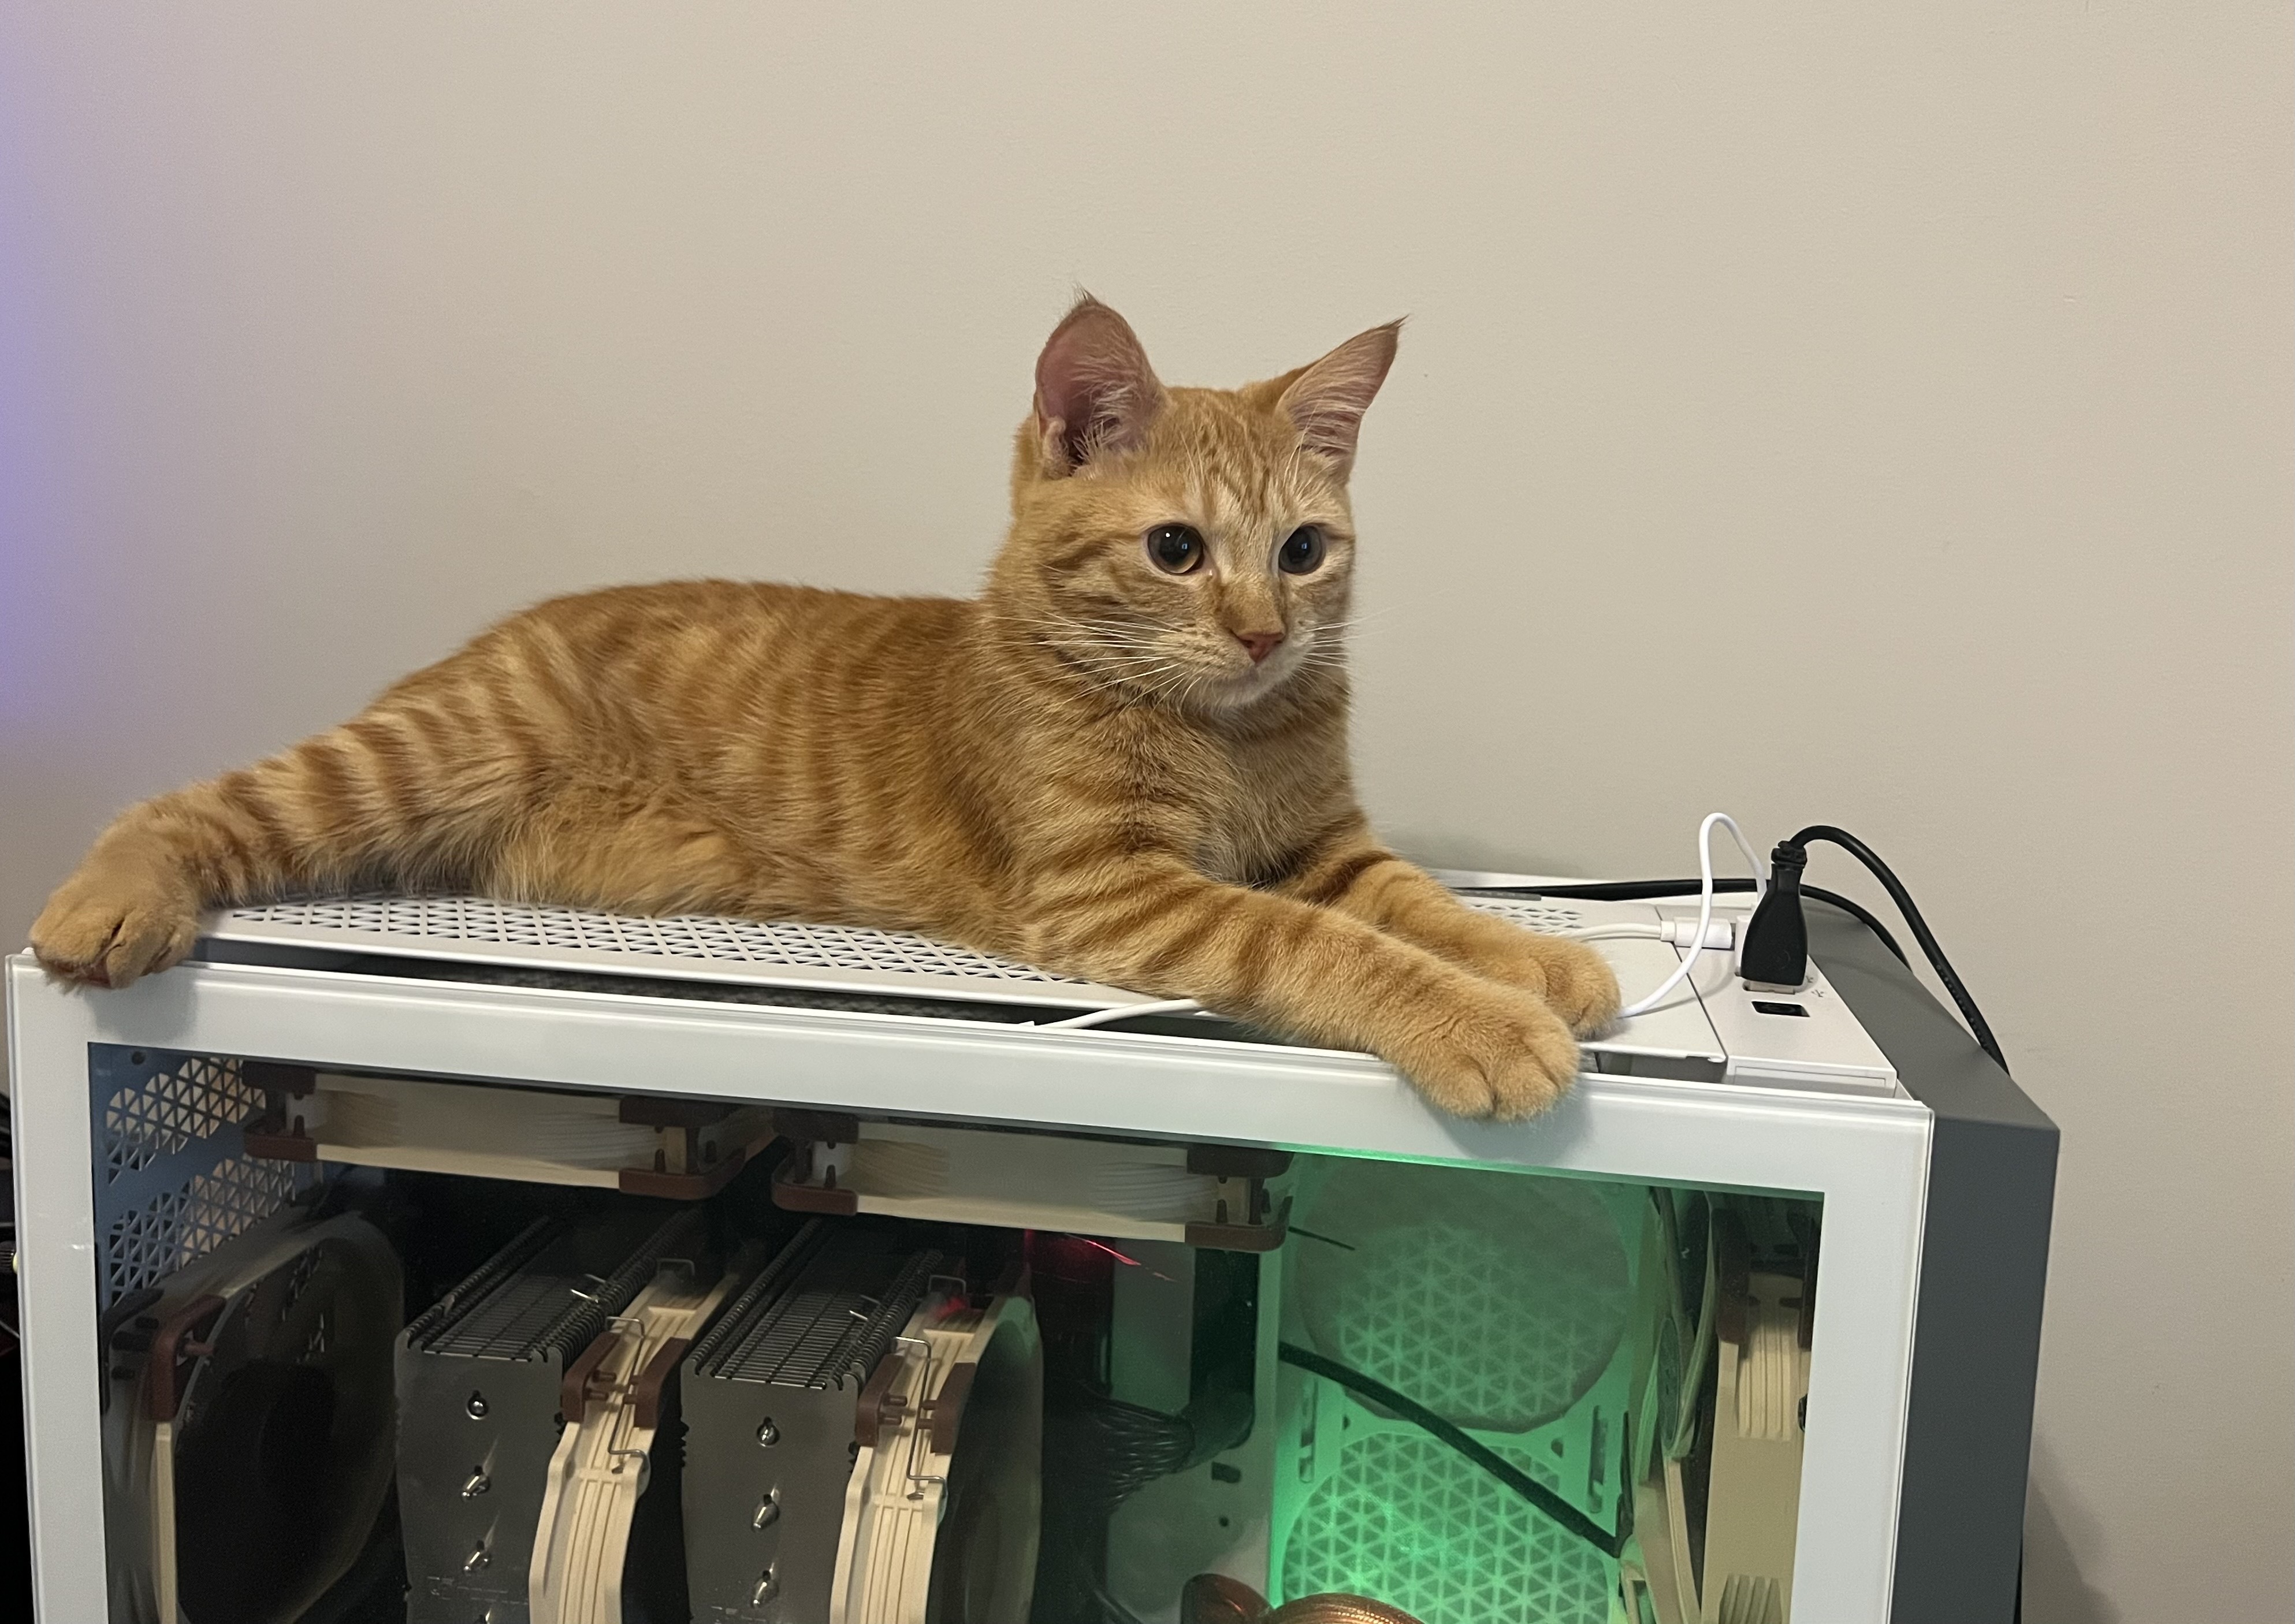
Ada
Unfortunately, I cannot list Ada as a co-author,
so naming the system Ada was the next best way to give her the credit she deserves.
Questions?
If you have any other questions, issues, or general confusion regarding Ada,
feel free to reach out to the author at 📧 yihanp2@illinois.edu.
He might even reply faster than your compile finishes (except in the mornings).
Acknowledgments
This work is part of our ISMAR/TVCG 2025 paper. See the paper for full technical details.
Thanks to the ILLIXR community for support and integration.
Lastly, the author would like to thank Doug Friedel and Qinjun Jiang for their invaluable help with the Ada integration and testing process.